
Glitter!!!
Did I get your attention? This is an easy and fun craft project anybody at any craft level can make in just a few hours.
Did I get your attention? This is an easy and fun craft project anybody at any craft level can make in just a few hours.
.jpg)
Supplies:
Stretch Canvas
Acrylic paint
Paint brushes
Pencil
Silhouette image
Fine glitter
Elmer's glue or mod podge
First you need a canvas. I used a smaller 8x10" canvas.

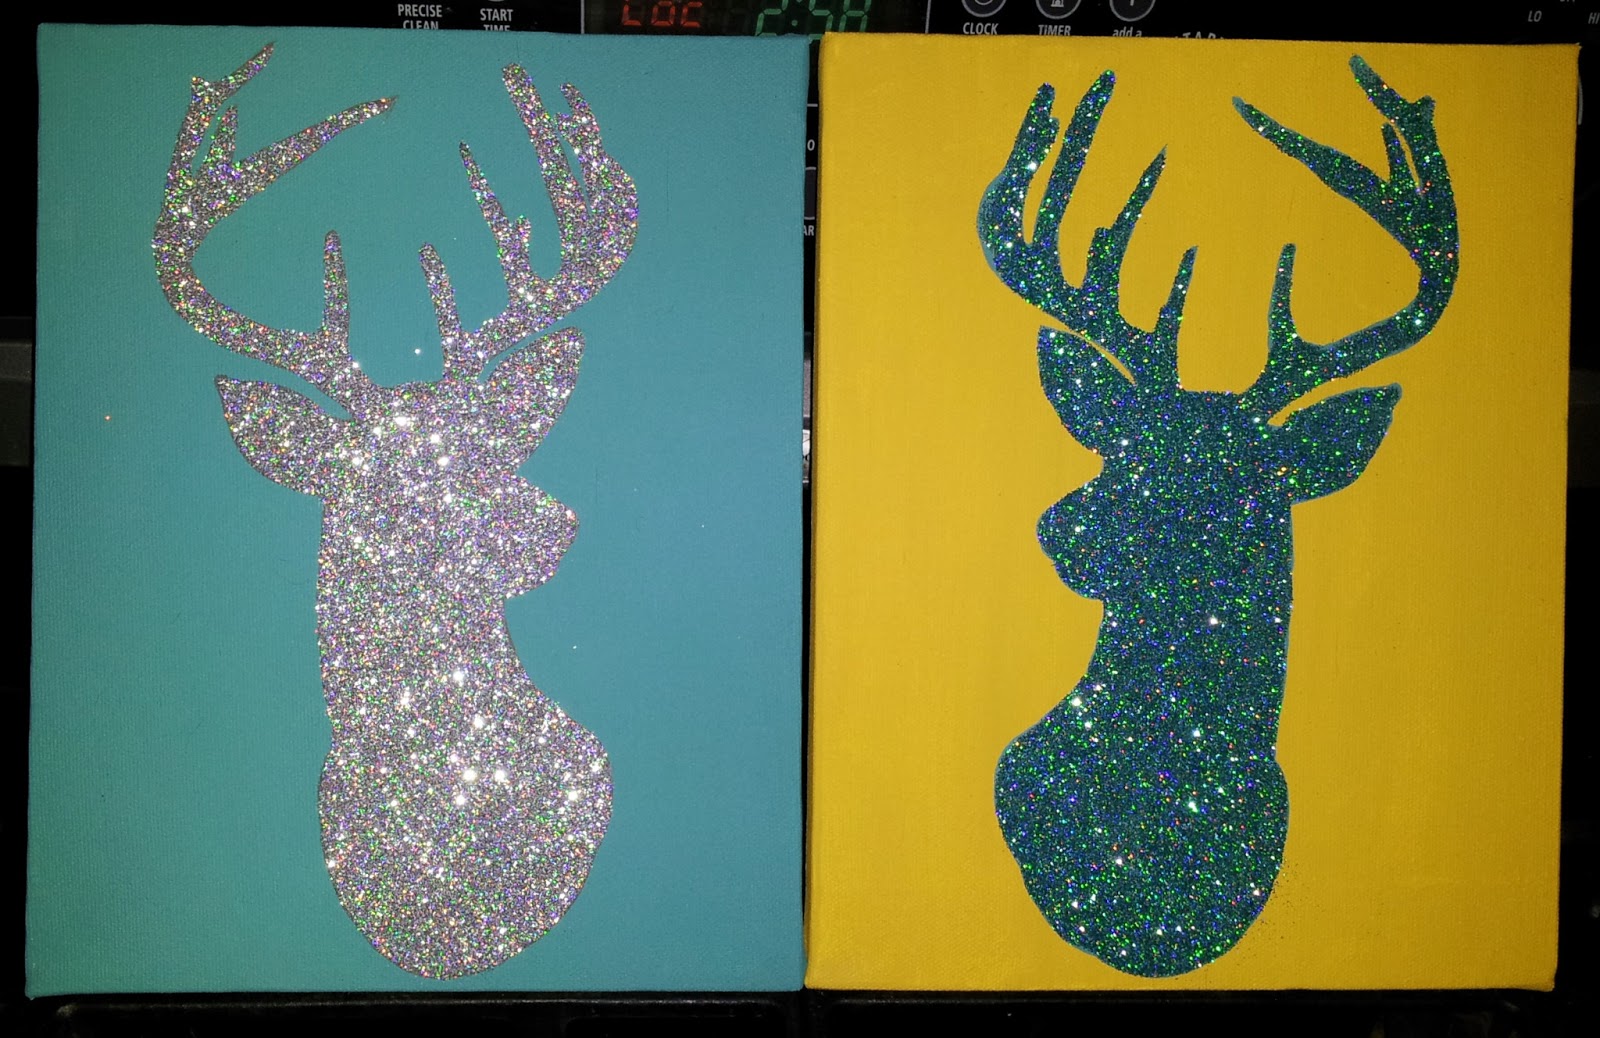
Next pick a base color. Since the canvas came in a pack of 2, I made one with turquoise and one with mustard yellow. This is a photo of the turquoise after 2 coats of paint. Don't forget to paint the sides of the canvas.

Next find a silhouette that you like. Just search Google image for the silhouette. Here's the one I used.

<SOURCE>
Blow the image up to as large as you want it to be on your canvas. It does not matter how high the resolution of the image is because you just need the outline.
Then cut out the image (sorry no photo here, but you get the idea).
Then either use painters tape to tape the image to the painted canvas exactly where you want the silhouette to be placed. Or if you're a little more experienced, you can simply hold the outline in place with your hand. Now lightly trace the outside of your image with a pencil (you can see portions of my pencil outline in the following photo.)
To help the glitter stand out I painted the image a similar color to the glitter. For the silver glitter I painted the deer gray (for gold I would recommend a yellow.) I painted this with 2 coats of paint.

Next to add the glitter. You could use mod podge, but that stuff is super expensive. What I use is 70% Elmer's glue and 30% water (or 50/50 as other websites recommend, but that just takes to long for me to dry.) To make this just squirt about a tsp of glue onto a plate and add a few drops of water. Mix really well with a small paint brush.
Paint over the image with your glue mixture using a small paint brush (don't worry Elmer's is water soluble and cleans up just fine.) Cover the entire image with the glue mixture. If it's drying before you finish just add a few more drops of water to the glue. This is very important because it will help guaranty even glitter distribution. Once the entire image is covered in glue mixture then start sprinkling you glitter. Cover all wet glue with glitter. A great glitter to use is Martha Stewart's brand.

Once the glue is dry then pour all the excess glitter onto a piece of paper. Then funnel the extra glitter back into the container. If you did happen to have some "bald" spots where the glitter did not stick you can still fix the painting. Just paint a little glue mixture on the bald spots and repeat the glitter sprinkling process.
Happy glittering!! I would love to see your creations. Just attach an image or link to one in your comment.
Hi! New follower here and I am a new blogger!... I found you on UBP13! Your blog is SO cute and I'm excited to read up! Please come by and follow me on my blog at mybutterflyhaus.blogspot.com!
ReplyDeleteHave a blessed day!
Thanks. UBP13 was a little overwhelming, but I think I got to meet bloggers I never would have known otherwise.
DeleteHi I did something like for Christmas and my kid love it. this one is such a good idea too.
ReplyDeleteDropping by from UBP13 from Dubai
Thanks. Wow Dubai...UBP13 has been amazing.
Delete